

Welcome Aboard!
This guide will walk you through creating a project from start to finish in the tool. Follow the steps in order, click “Save & Continue” frequently, and you’ll be golden.
Step 1: Create a New Project
Start by creating a Project Name.
Project Naming Convention: Begin with the company initials, followed by the project name.
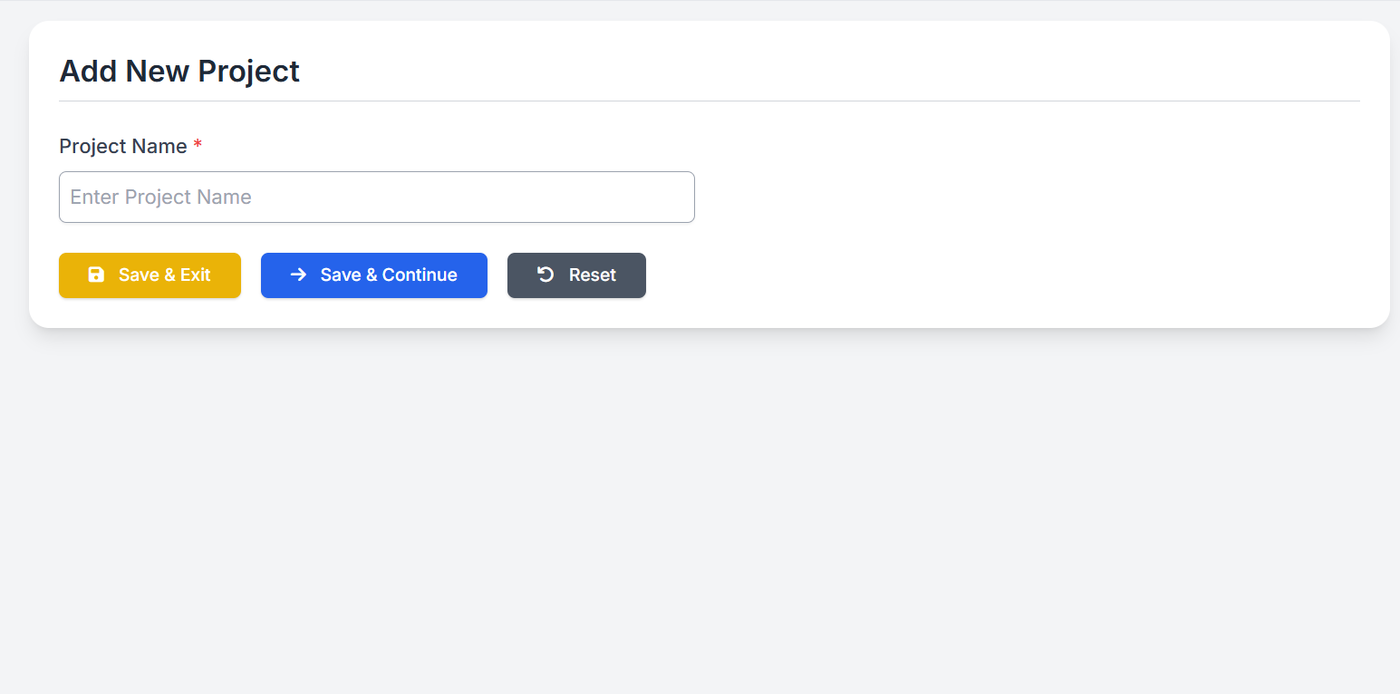
Once entered, click Save. You’ll be redirected to the Project Basic Details page.
Step 2: Project Basic Details
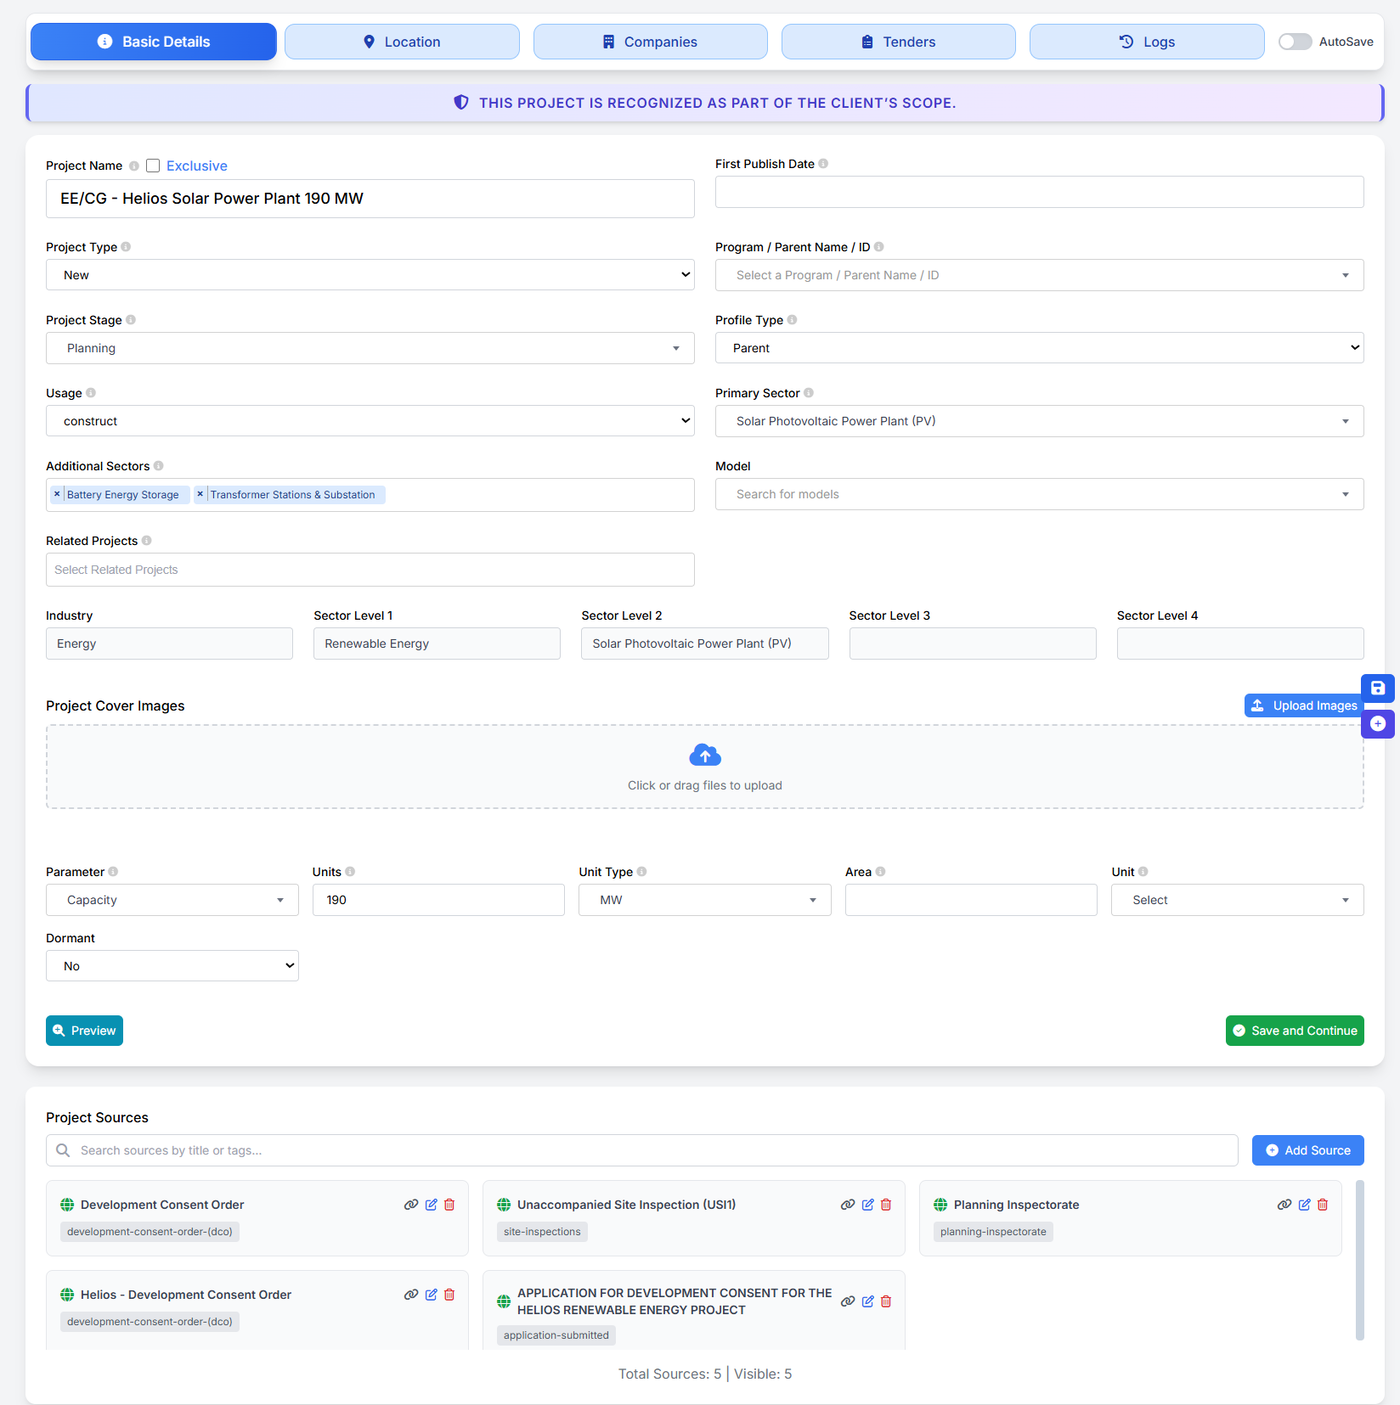
Fill in the following fields:
Project Type
New
Existing
Upgrade / Expansion
Project Stage
Announced
Study
Planning
Pre-Design
Design
FEED
Pre-Qualification/Pre-Tender
Main Contract Bid
Bid Evaluation
Contract Award
Pre-Construction
Ongoing/under-construction
Completed/commissioned
Cancelled
On hold
Shutdown/partial shutdown
Profile Type
Parent Project (main project)
Sub-Project (part of a larger project)
Additional Sectors (if applicable)
Use this field when the project includes more than one component.
Examples:
A Solar project may include:
BESS
Transformer stations
Substations
A Oil & Gas project may include:
Pipelines
FPSO
Processing facilities
Enter all applicable additional sectors here.
Models
For Wind projects: enter turbine model names
For Other projects: enter relevant equipment or technology models (if available)
Industry & Sector Classification
Select Industry
Choose Sector Level 1 & Level 2
Refer to the taxonomy document while selecting these fields.
Link: Taxonomy Reference Sheet
Project Images (Optional)
Upload images if available (site images, layout, official visuals)
Parameters Section
Here you enter technical parameters such as:
Capacity
Transmission line length
Oil / Gas specifics
Energy & Utilities arena details
Important:
Once parameters are selected, the tool automatically displays:
Units
Unit types
Related data fields
Always click Save & Continue after completing the page.
Step 3: Location Details
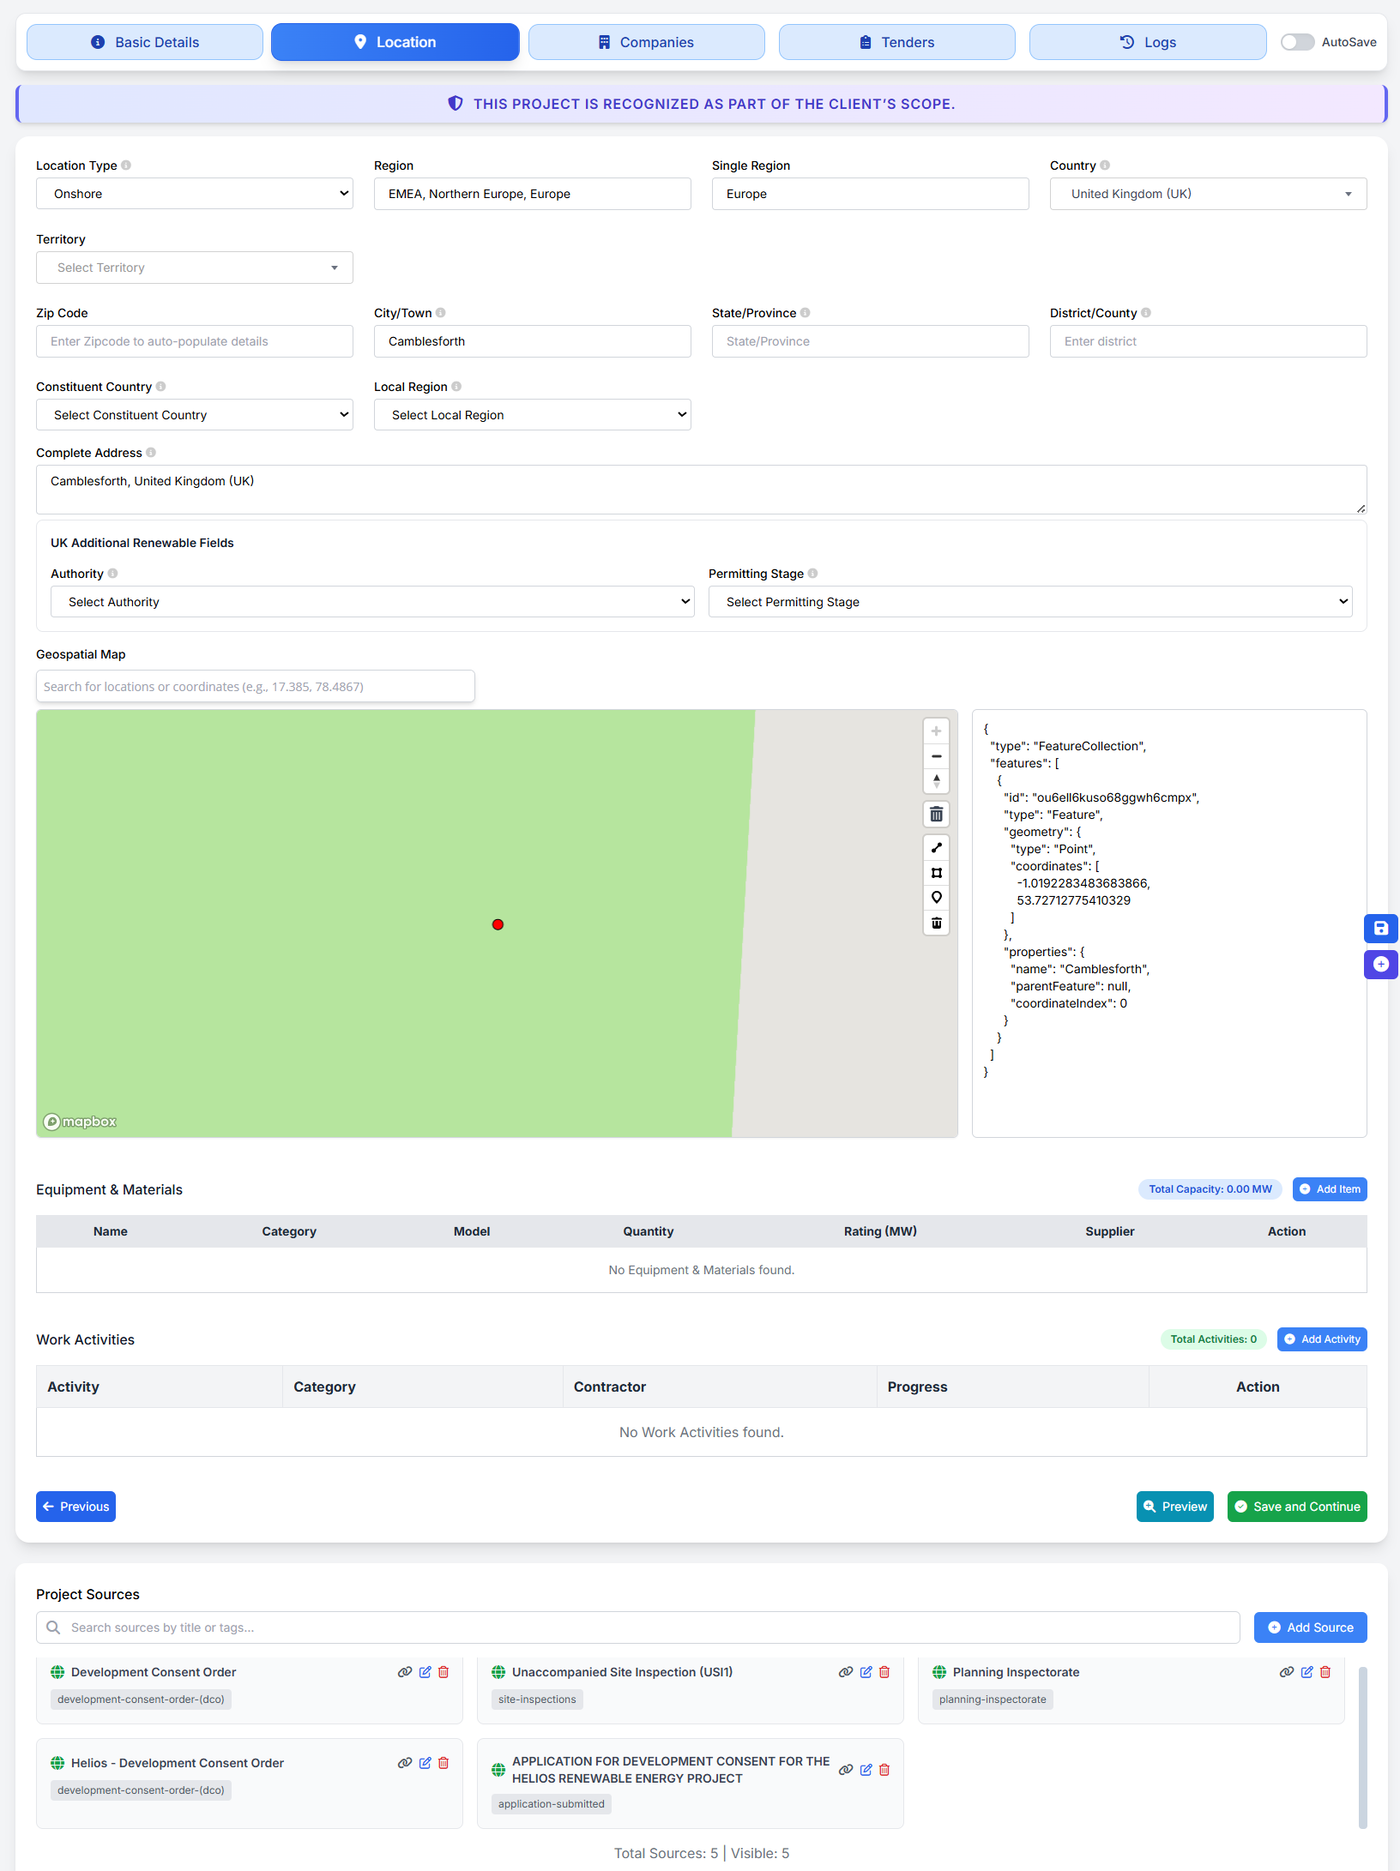
This page defines where the project is located.
Required fields:
Location Type: Onshore / Offshore
Region
Country
State (if applicable)
City / Town
Pro Tip:
For accurate geospatial mapping:
Enter the project coordinates (latitude & longitude) if available
If exact coordinates are not known: Enter coordinates close to the project’s city or town
Accuracy here improves front-end map visibility.
Click Save & Continue.
Step 4: Companies & Financing
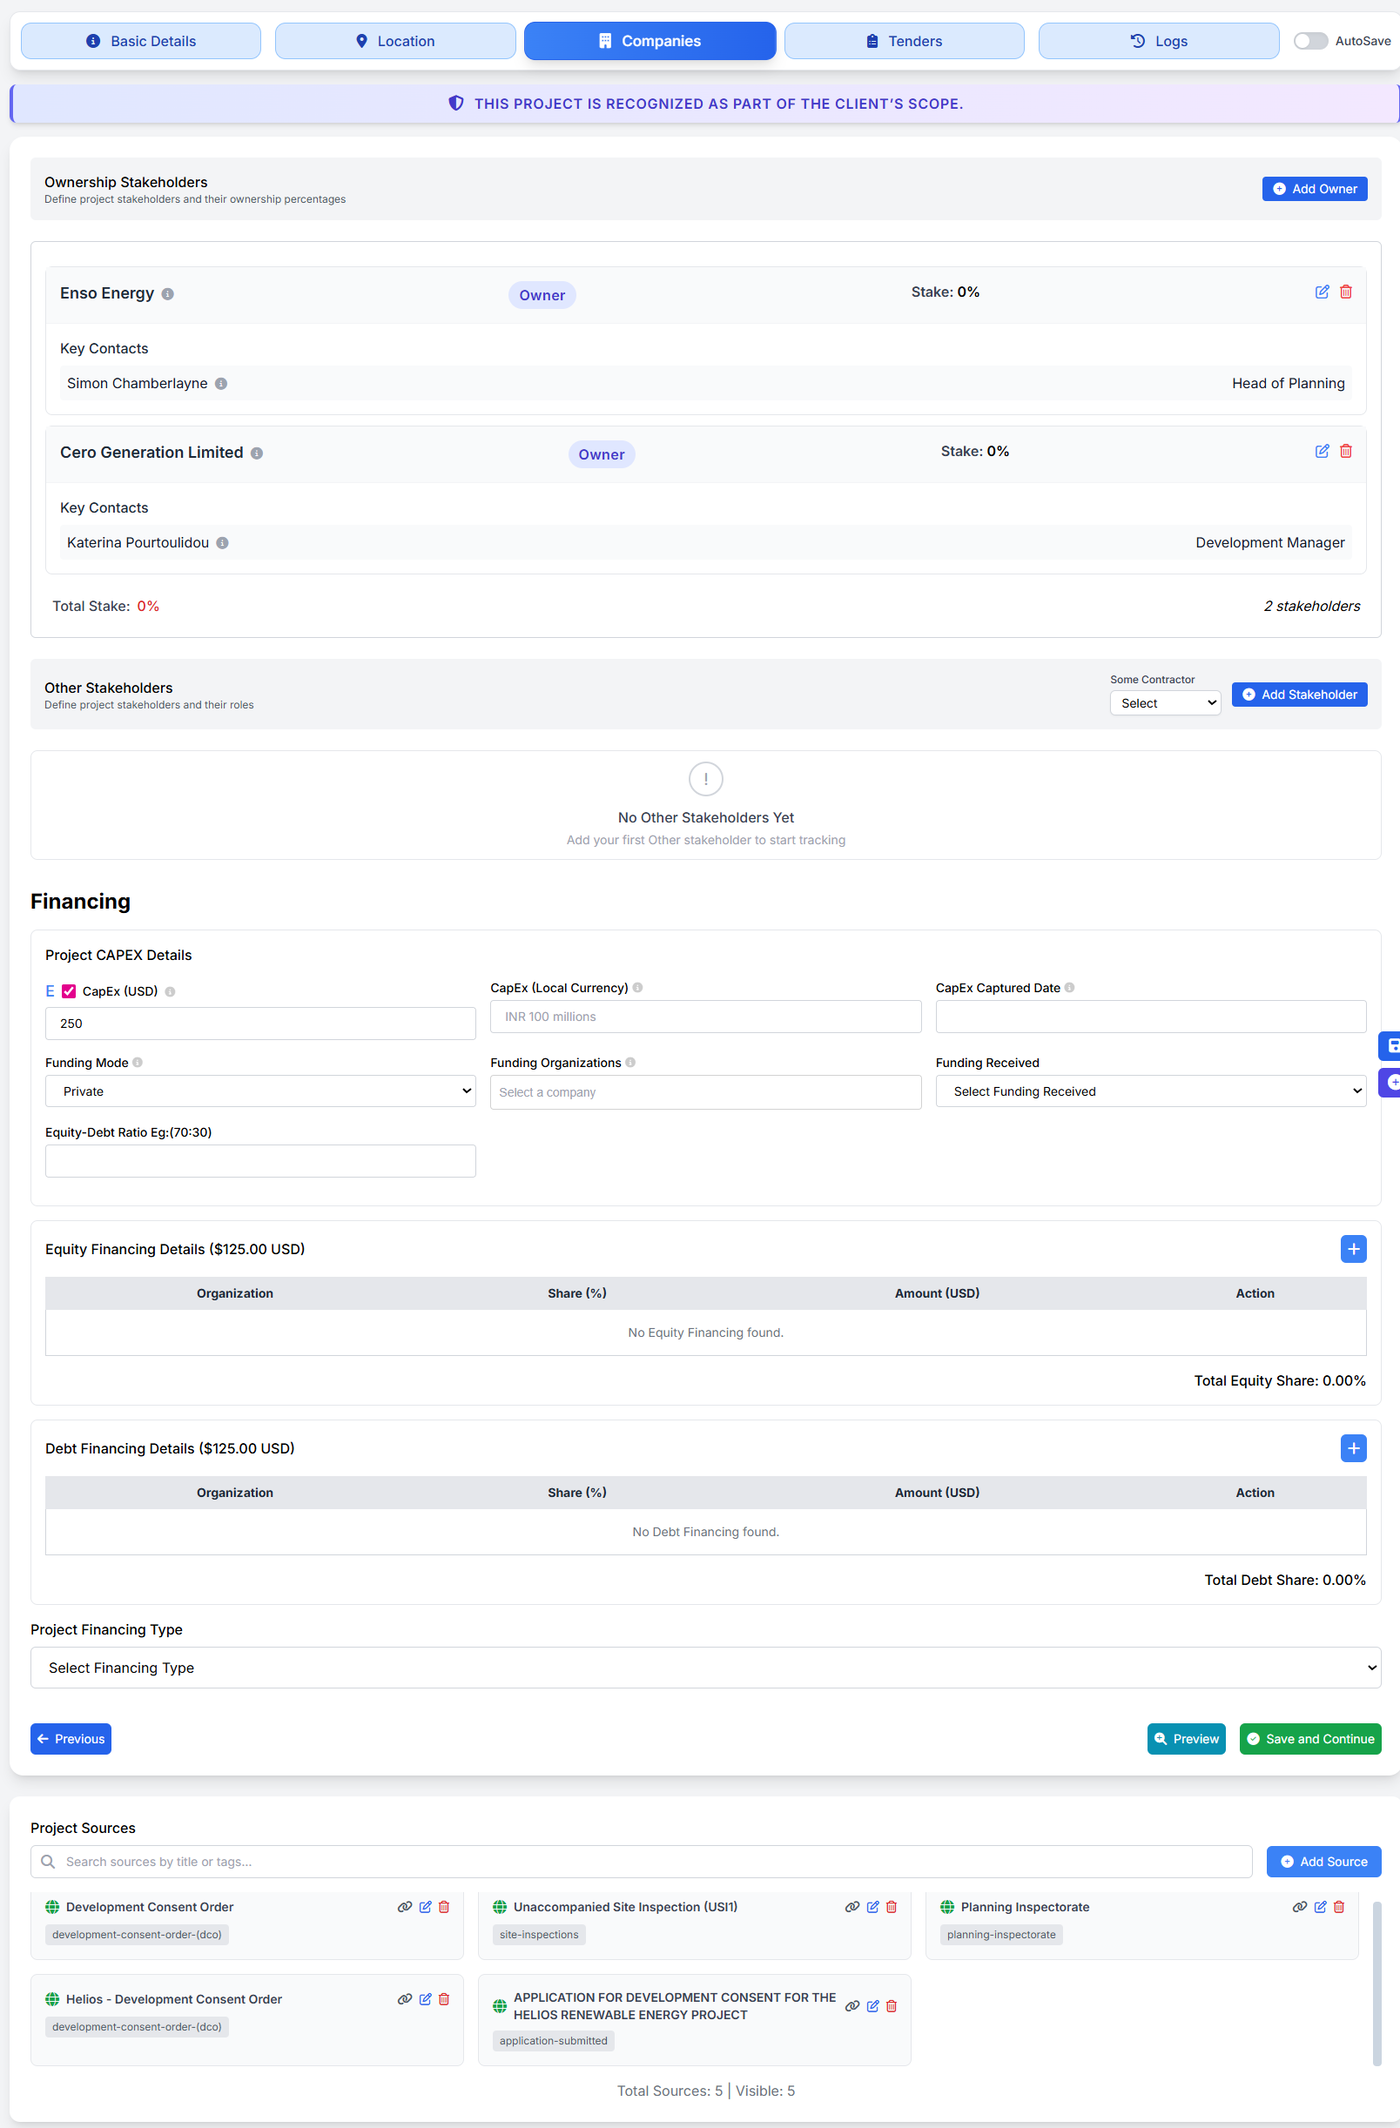
Ownership & Stakeholders
Add all project owners and stakeholders
For each company, provide:
Role (Owner, Developer, EPC, Operator, etc.)
Contact details (if available)
Refer to the “Manage Contacts & Companies” article for detailed instructions.
Financing Details
Enter CAPEX value
If official value is available → use it
If not → provide an estimated value
For estimation guidance, refer to: “How to Estimate CAPEX for Project Values”.
Select Project Financing Type
Equity
Debt
Mixed
Government funded, etc.
Click Save & Continue.
Did you know?
Everything you enter here is automatically reflected on the front end, ensuring consistent and contextual project visibility for users.
Step 5: Tenders, Scope & Timeline (The Heart of the Project)
Project Dates
Enter Project Start Date
Enter End Date
If not available, enter an estimated date
Refer to: “How to Estimate Project Start & End Dates” article
Project Scope (Most Important Section)
Based on earlier inputs, the tool generates a pre-templated scope.
This scope must be reviewed and edited:
Cross-check for accuracy
Add missing details
Enrich it with clear, meaningful information
To master this section, refer to: “How to Write a Perfect Project Scope”.
Project Timeline Updates
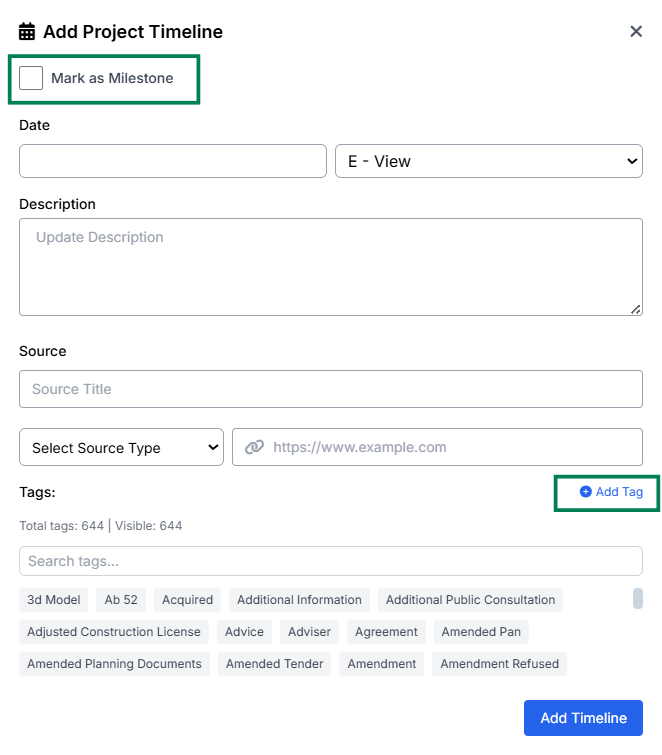
As you build the scope, you will also add project timeline updates.
Rules to follow:
Always start with the oldest update first
Latest update should appear last
For each update, enter:
Date
Short description (1 line, clean & crisp)
Source link
Source type:
Official website
News article
Social media
Report / document
Relevant tags:
Announcement
Agreement
Tender issued
Construction started, etc.
Note: You can add new tags by clicking the add new tag option or from the Manage Tags option on the left side.
Milestones (Very Important)
Each project may have 10–20 updates, but only major updates should be marked as milestones, such as:
Project announcement
FID achieved
Construction start
Project completion
Commercial operation
Tick the Milestone checkbox for these key updates as only these milestones appear in the front-end timeline scroll.
Minimum requirement:
At least 5 updates per project (Exception allowed for very early-stage projects)
Click Save & Continue.
Step 6: Logs & Submission
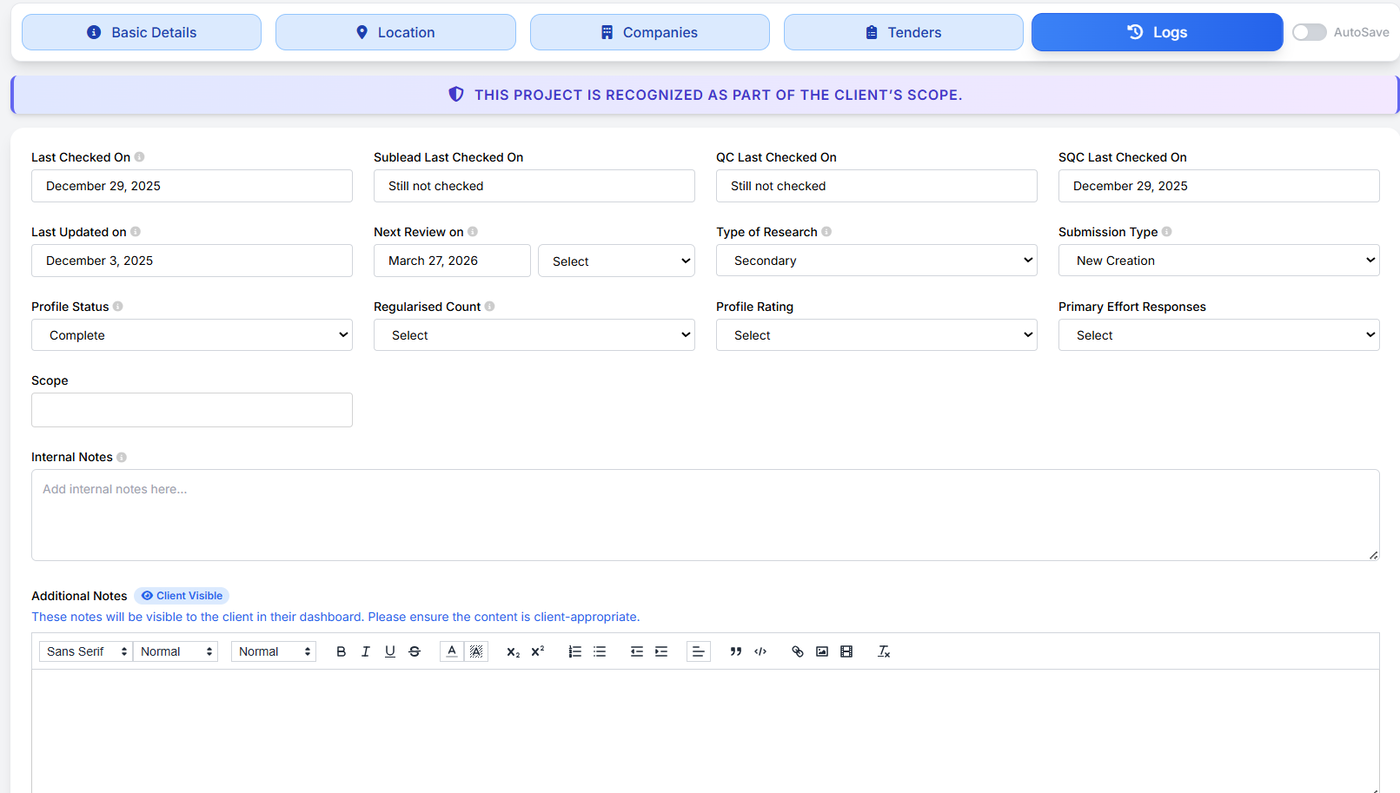
Project Review Date
Standard review date: 3 months from project creation or announcement
If frequent updates are expected: Set review date to 1 month (rare cases only)
Submit the project to your Team Lead for QC or Save to Drafts to re-edit.
Congratulations!!
You’ve successfully created your first project.
Happy Researching!!
